
ALL MATERIAL COPYRIGHT KEVIN SCOTT 2011. LINKS TO THIS SITE ARE WELCOME BUT DO NOT COPY MATERIAL FROM THIS SITE TO ANY OTHER WEBPAGE.


If you find this site useful, please support it by making a donation of $1 to help maintain and develop it. Click on the PAYPAL DONATE button to do this safely. But there is no obligation - please avail yourself of the information and facilities of the site at no charge.
The drag is then turned over. If the ramming has been carried out correctly and the sand has the correct moisture content, the filled
drag should be reasonably stable and can be moved about with care. It is, however, best to avoid un-necessary movement and vibration.
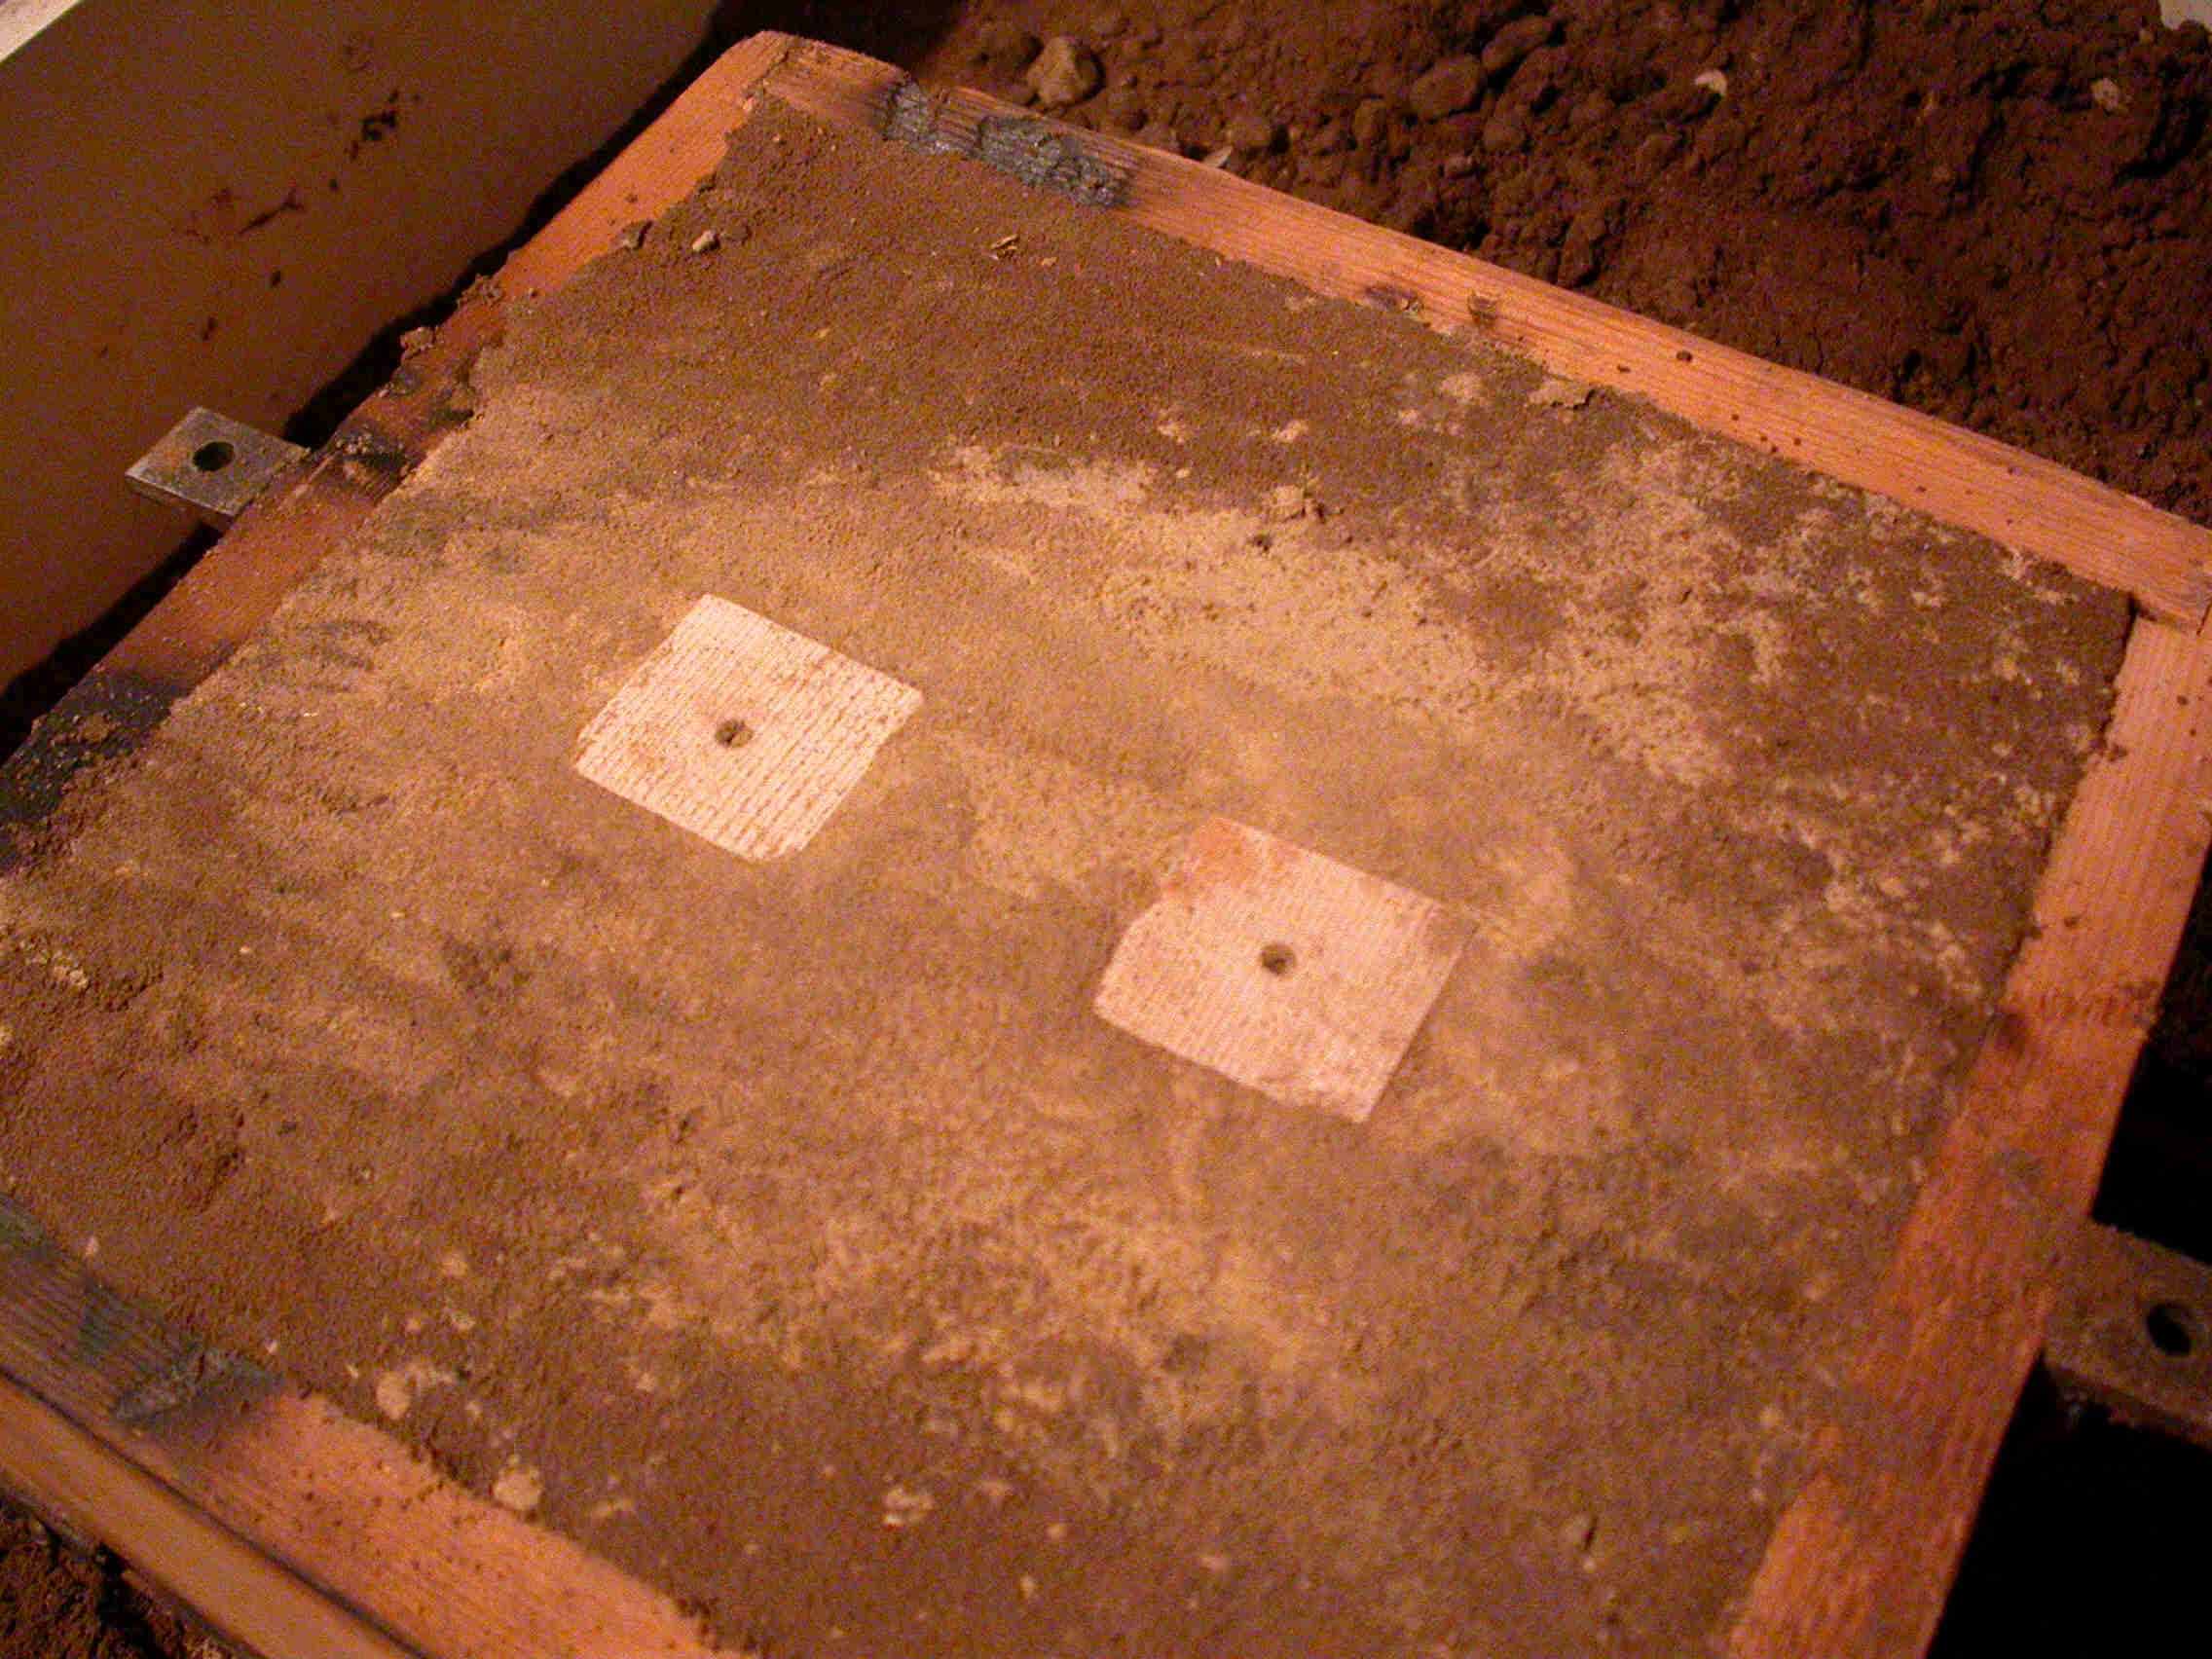
With the drag inverted, the lower surfaces of the patterns will now be visible, flush with the surface of the sand.
The cope is fitted to the drag, using the registration pins & eyes. If the cope and drag will fit together either way, then it is wise to mark them both
so that the registration of the two halves is always maintained.
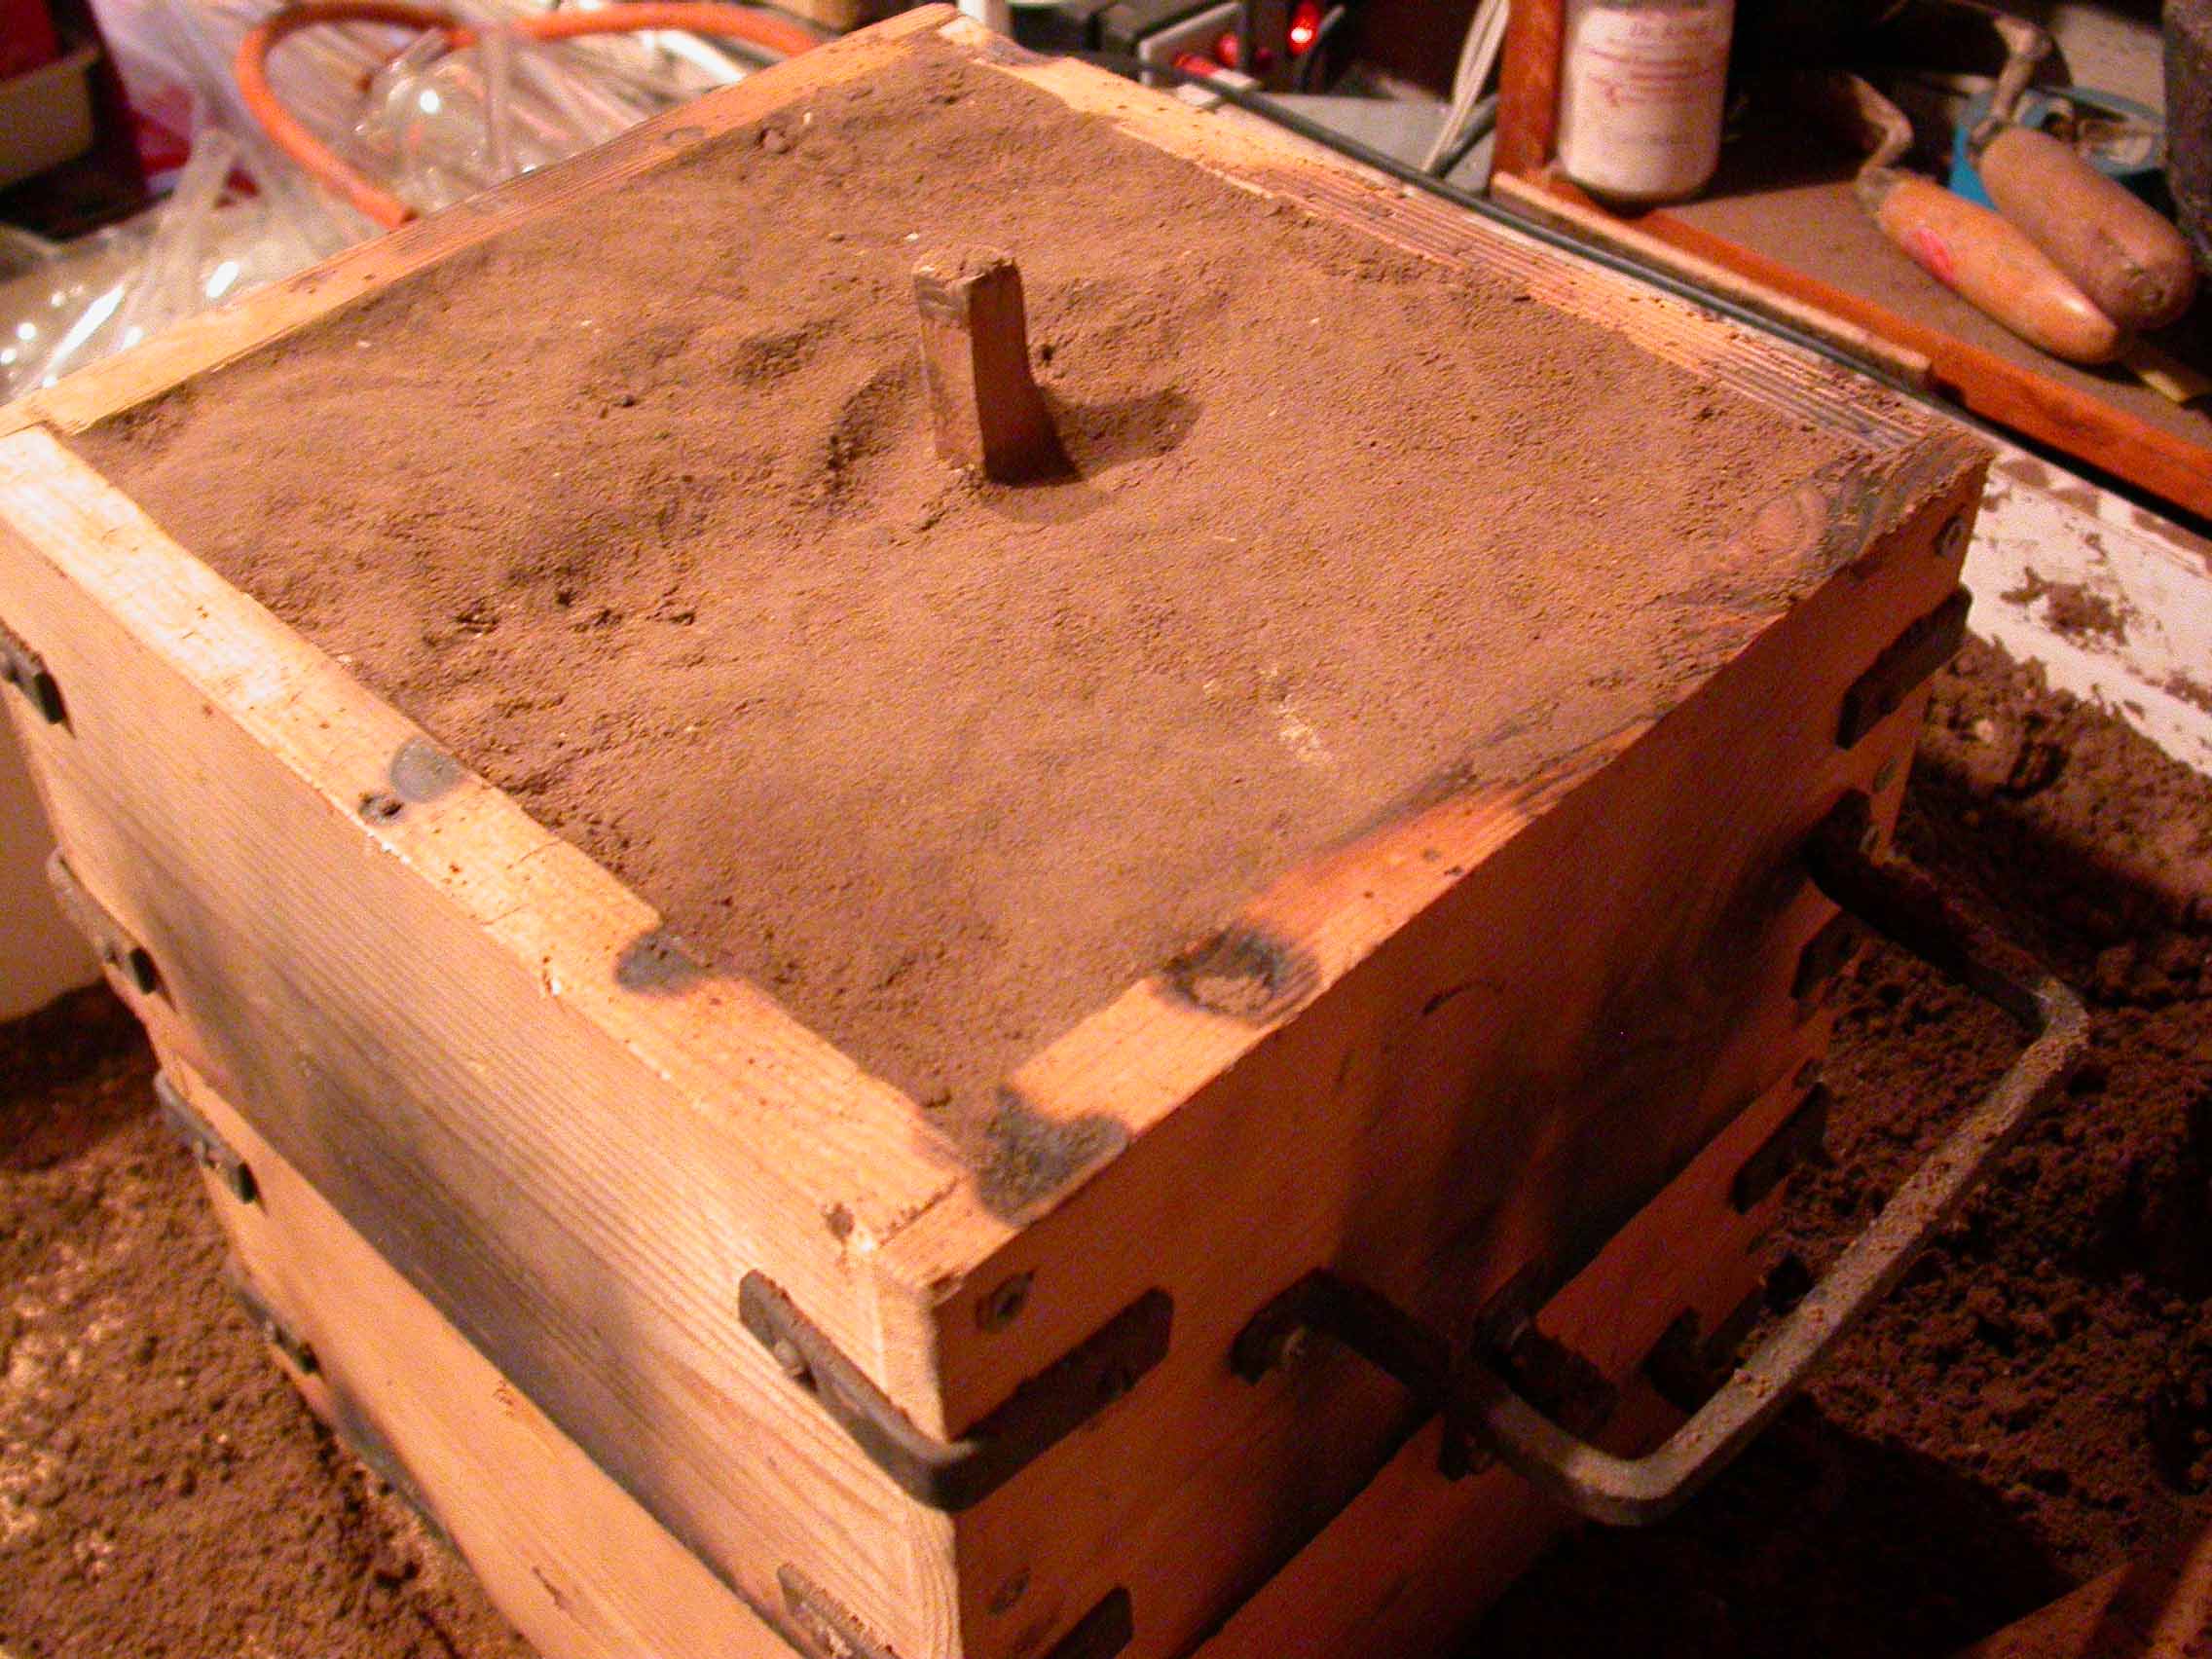
A wooden rod about 20mm across is inserted into the sand to a distance of about 25mm at a position close to both patterns. This is the runner
and its purpose is to provide a hole through which the molten metal may reach the moulds during the pouring process. When the runner has been fitted,
it and the exposed sand and pattern surfaces are dusted with parting sand from the muslin bag.
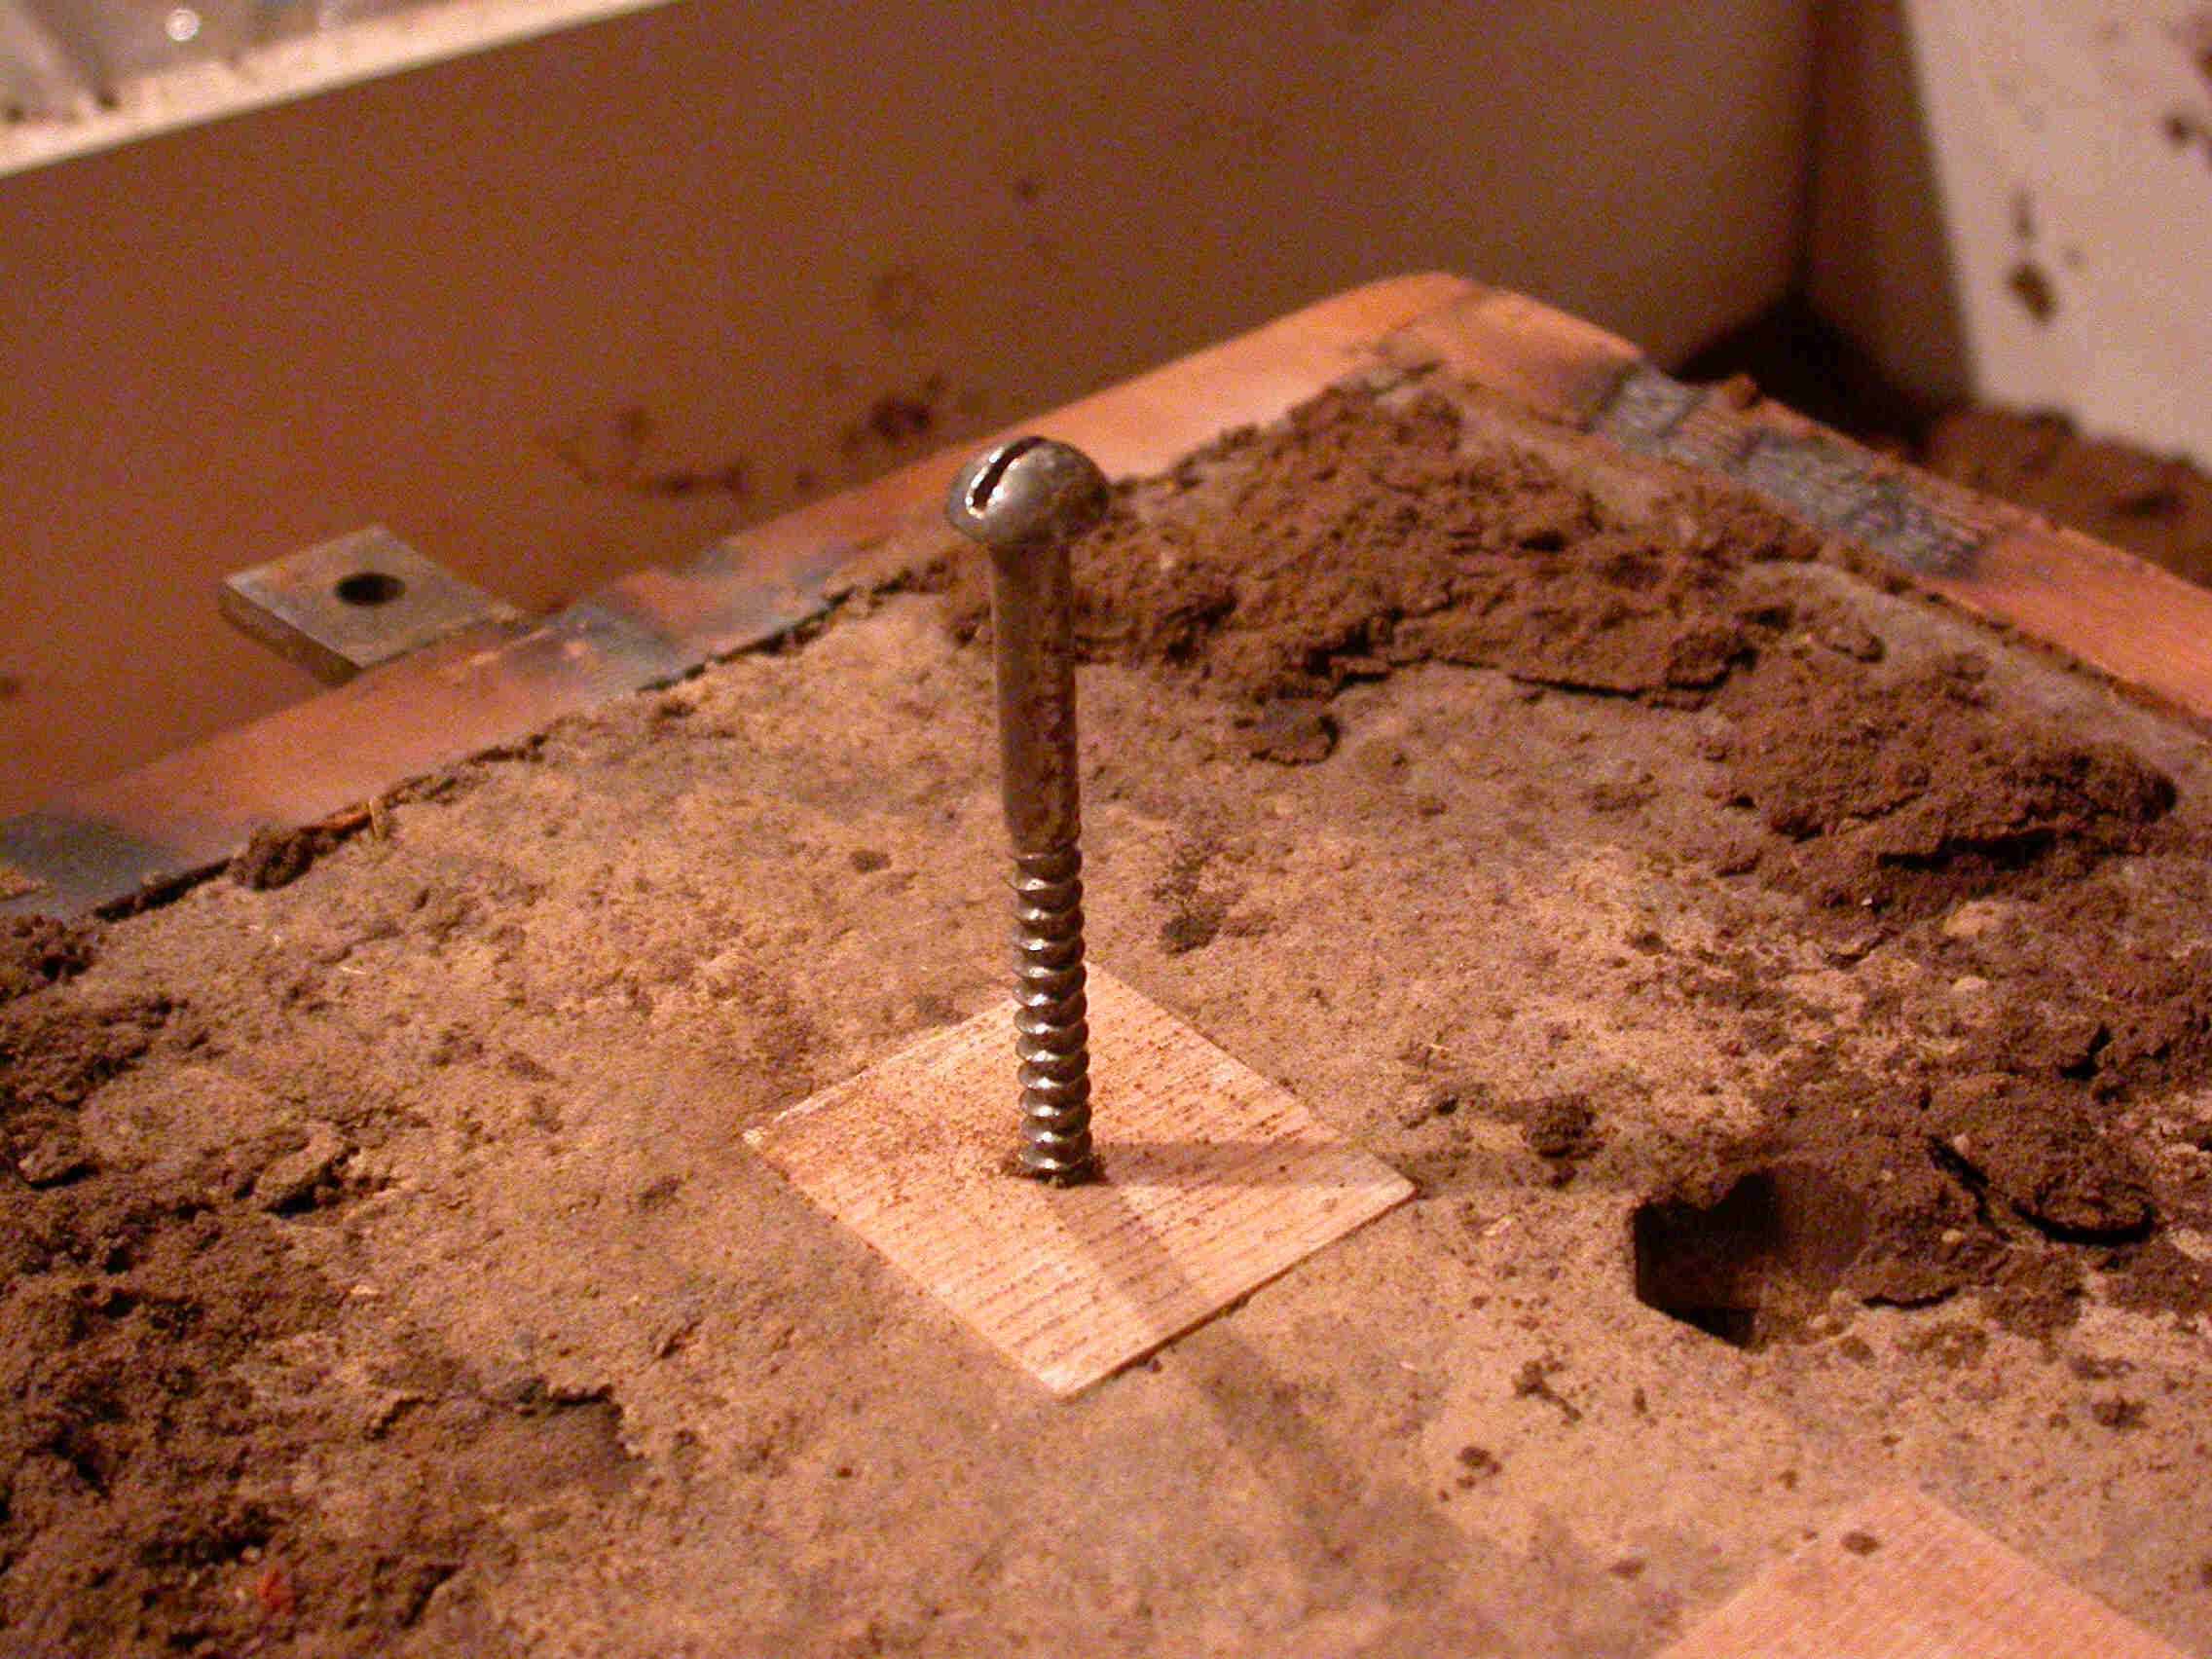

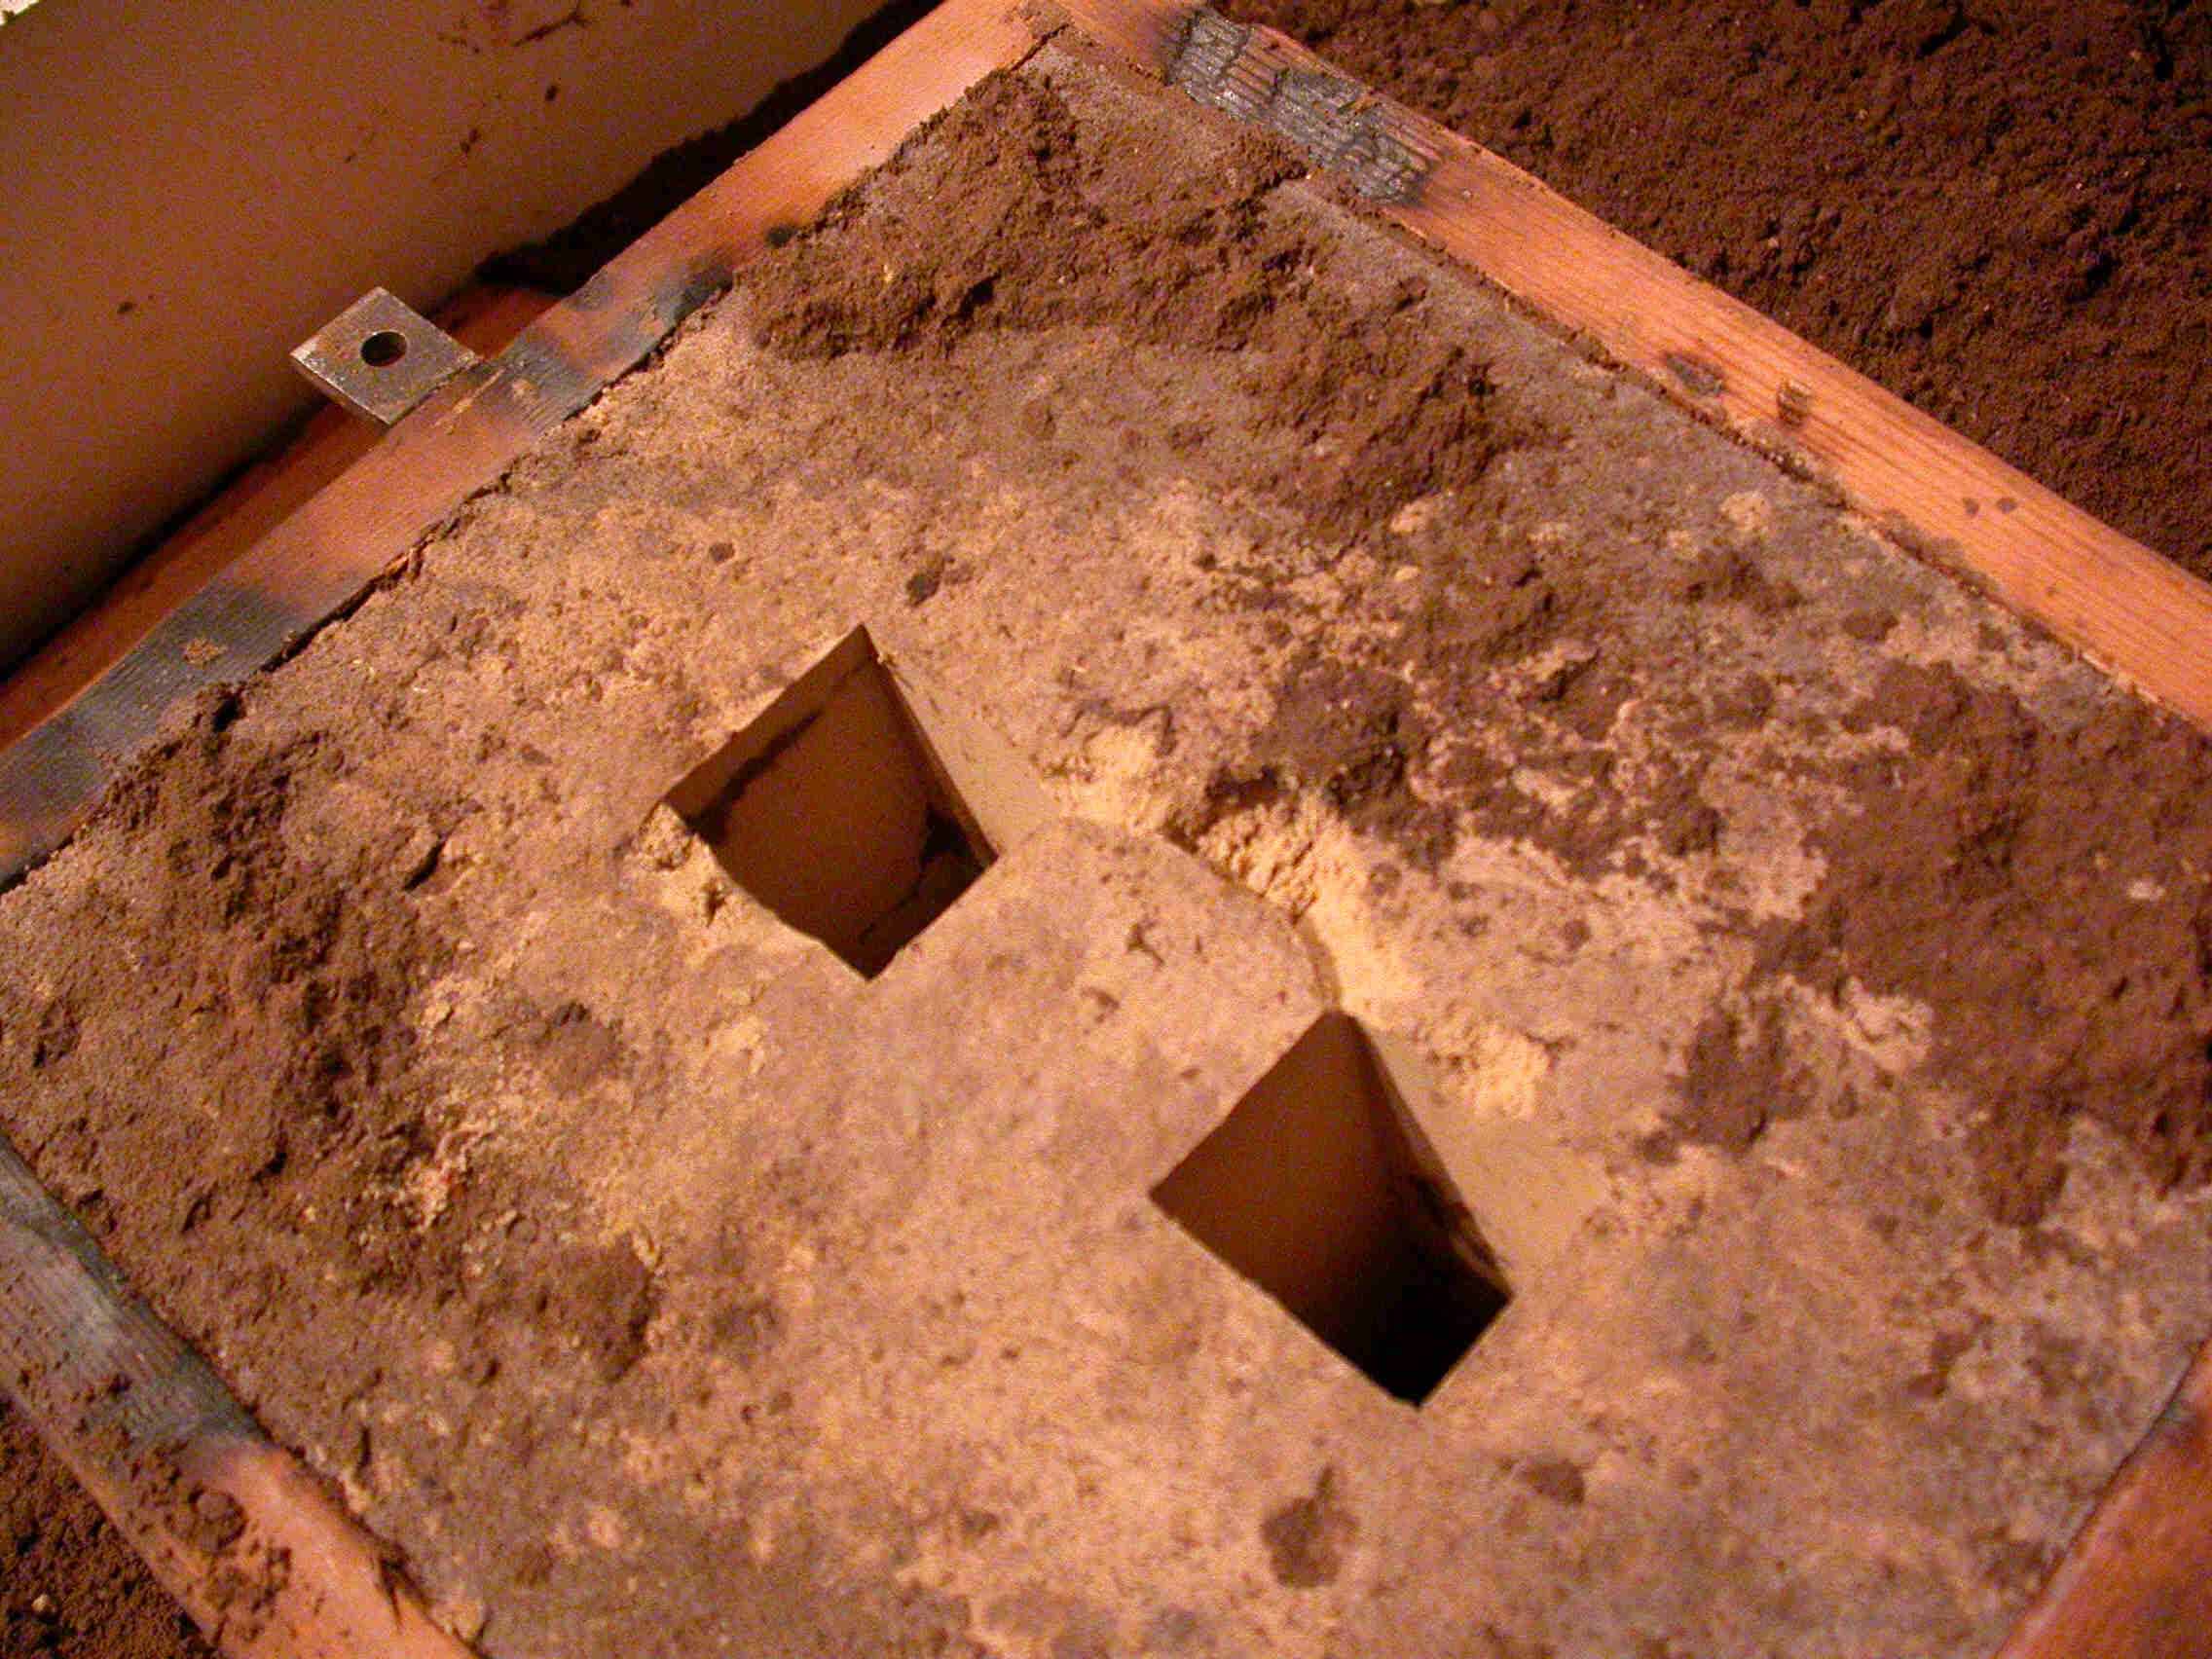
The cope is then rammed up with greensand in the same way as the drag. Then the runner is carefully eased out and removed. The cope is carefully lifted from the drag and set to one side with the lower face of the sand upwards. It is now a question of removing the patterns to leave the mould to receive the metal. This is accomplished by screwing a large wood screw or similar a small distance into the exposed base of each pattern. The shaft of the screw is then tapped lightly in all directions. The handle of a screwdriver may be found convenient for this. The effect of this rapping is to loosen the pattern in the sand a little and cause the sand to part cleanly from the surface of the pattern. The pattern may then be lifted clear of the drag and put one side. The mould may cleaned of any sand which may have fallen into it by inversion of the drag or by the moderate use of a compressed air gun.
It is now necessary to perform the task of cutting the ingates. These are the channels made in the sand with a small trowel or screwdriver to allow the flow of molten metal from the bottom of the runner into the moulds. They do not need to be very large in section - about 0.5 sq cm is usually sufficient on small castings. A single ingate per mould is usually sufficient on small castings, but on large ones several runners and multiple ingates are often used. The ingates should be cut in a direction away from the mould and towards the runner to prevent debris entering the mould. When the ingates have been cut and any loose sand removed, the cope can be refitted to the drag in the correct orientation. The final task in preparation of the casting box is to ventilate the sand in the cope. This is accomplished by inserting a stiff wire into the sand in several places around the mould area down to about 3/4 of the depth of the cope. The purpose of the vents so formed is to allow for the escape of steam which is produced when the hot metal hits the moist sand. Without these vents, there is a tendency for the cope to lift from the drag during the pour owing to steam pressure developing.